
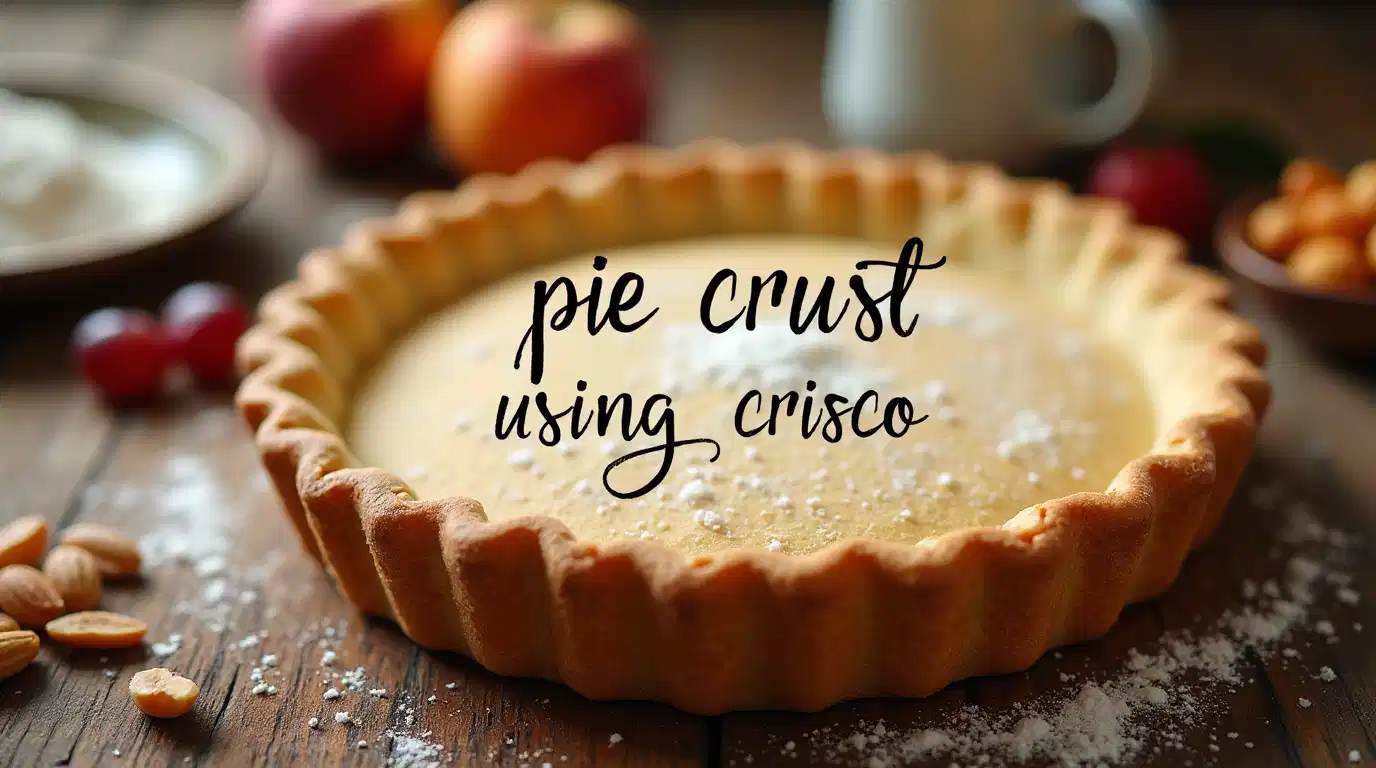
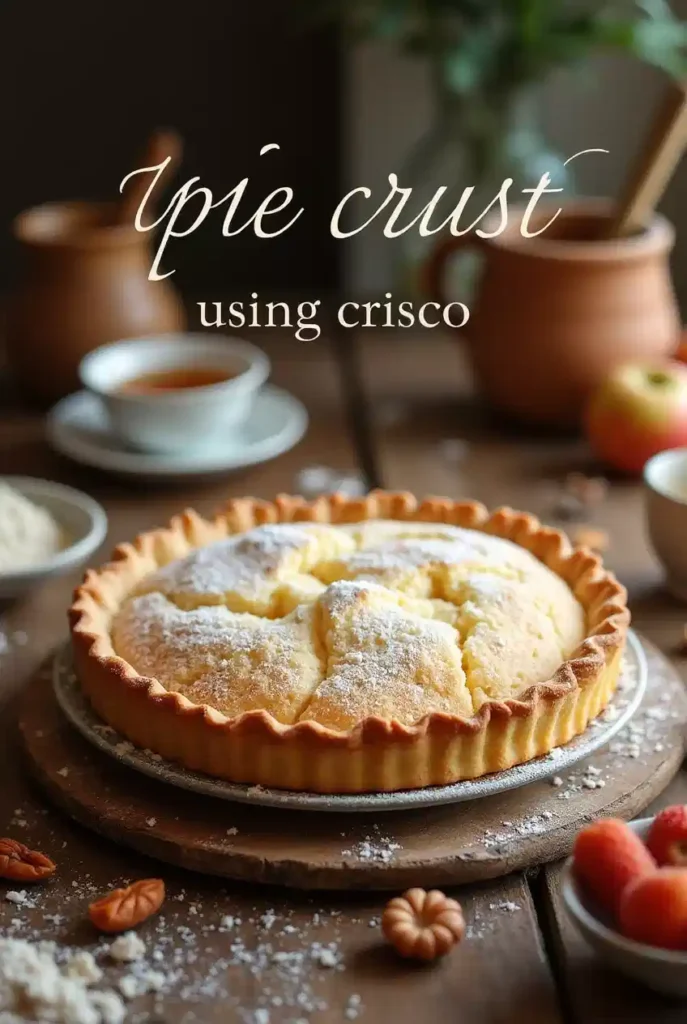
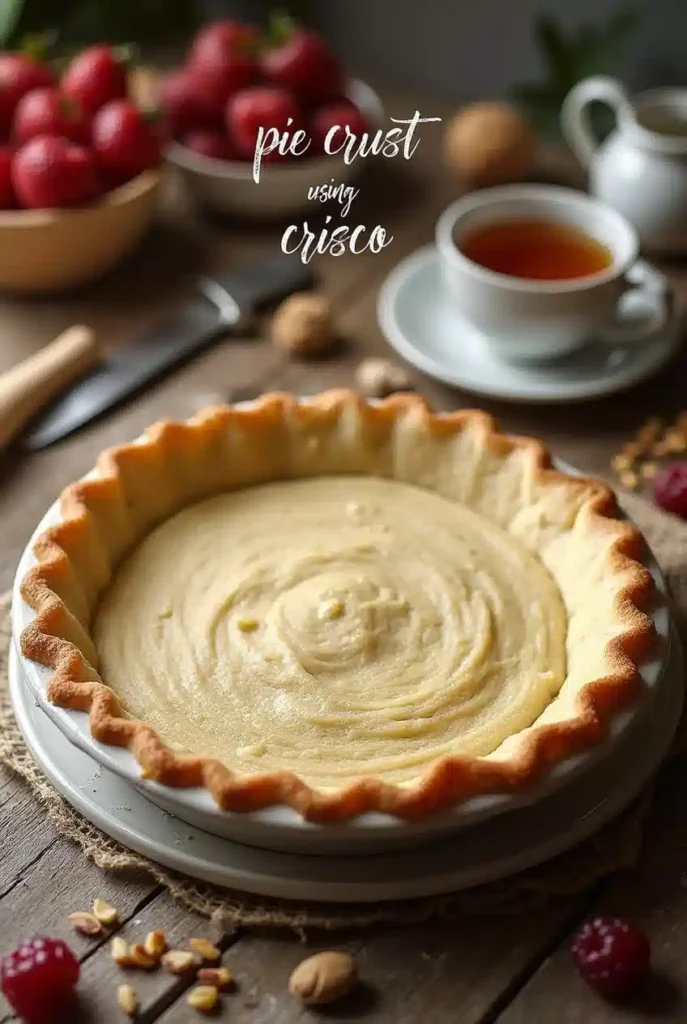
Creating the perfect pie crust using Crisco is both an art and a science. When executed correctly, this classic shortening produces a tender, flaky pastry that’s perfect for both sweet and savory pies. Whether you’re a seasoned baker or just starting out, this in-depth guide will walk you through every step of making a perfect pie crust using Crisco, with a laser focus on cold temperatures, accurate techniques, and practical tips to ensure your success.

Table of Contents

I. Ingredient Preparation and Handling (Focus on Cold Temperatures & Accurate Measurement)
Keep Ingredients Cold
Cold ingredients are the cornerstone of a flaky crust. Warm fats will melt into the flour too early, robbing your crust of that signature flakiness.
- Chill your Crisco shortening. Store it in the refrigerator for 30 minutes before using.
- Use ice-cold water. Mix ice and water, then measure only the chilled water.
- Consider chilling the dry ingredients. Place flour and salt in the freezer for about 15 minutes before use.
- If ingredients warm up during prep, chill them again.
- Coley Cooks’ Tip: Run your hands under cold water or hold ice cubes before handling the dough to prevent melting the fat.
Measure Flour Accurately
Accuracy here avoids a dry or dense crust.
- Lightly spoon flour into a dry measuring cup.
- Level it off with a flat edge like a knife.
- Avoid scooping directly from the container—it compacts the flour and throws off measurements.
Measure Shortening Correctly
- Use a kitchen scale for precision. If not, pack Crisco into a dry measuring cup and level it off.
Optional: Add Sugar for Sweet Pies
- Add 1–2 teaspoons for subtle sweetness. Omit in savory recipes.

II. Combining Ingredients (Cutting in Shortening & Adding Water)
Combine Dry Ingredients
Mix flour, salt, and optional sugar in a large mixing bowl. Stir to evenly distribute the salt and sugar.
Cut in Cold Shortening
This step is where flakiness begins.
- Use a pastry blender, fork, or even two butter knives.
- Cut Crisco into the dry mix using an up-and-down motion.
- Stop when pieces are pea-sized—visible chunks are good. The texture should resemble coarse crumbs or a “mosaic.”
- Avoid using your hands, which can warm the fat.
Add Ice-Cold Water Gradually
- Begin with one tablespoon at a time.
- Gently stir with a fork or rubber spatula.
- Test moisture by squeezing a bit of dough in your hand. If it holds together without crumbling, it’s ready.
- Continue adding water only as needed.
- Avoid overmixing to prevent gluten from developing, which leads to a tough crust.
III. Shaping and Chilling the Dough
Shape into Disks
- Single crust: Form one ball.
- Double crust: Divide evenly into two balls.
- Flatten each into a disk about 1/2-inch thick. This shape chills more uniformly and rolls out more easily.
Wrap and Chill
- Wrap each disk tightly in plastic wrap.
- Chill at least 30 minutes or up to 2 days.
- For long-term storage, freeze for up to 6 months.
Chilling prevents shrinkage during baking and allows the gluten to relax for easier rolling.

IV. Rolling Out the Dough
Prepare the Work Surface
- Use a lightly floured, dry surface.
- Lightly flour your rolling pin as well.
Rolling Technique
- Start from the center outward. Roll toward the top, then the bottom.
- Rotate dough a quarter turn every 1–2 rolls to maintain a round shape.
Size Guidelines
- For a 9-inch pie plate, roll dough to 11 inches in diameter.
- For a deep-dish pie (9.5-inch), roll to 12 inches.
Prevent Sticking
- If dough sticks, roll between two sheets of waxed paper. Crisco dough responds well to this method.
- Avoid excessive flour which can toughen the dough.
Transfer to Pie Plate
- Carefully lift dough and place it into the pie plate.
- If using wax paper, peel off the top sheet, lift the dough using the bottom sheet, flip it into the pie plate, and then remove the remaining sheet.
V. Preparing the Crust for Baking
Shaping the Edge (Single Crust)
- Fold overhanging dough under itself and press to form a rim.
- Flute edges using your fingers or a fork.
Chill the Crust
- Chill or freeze the shaped crust for at least 30 minutes before blind baking. This step helps prevent shrinkage.
Preparing a Double Crust Pie
- Add filling into the bottom crust.
- Roll the second disk, then lay it over the filling.
- Trim the edges with a 3/4-inch overhang.
- Fold top crust under the edge of the bottom crust and press to seal.
- Flute the edges and cut slits in the top to release steam.
Optional: Add Egg Wash
- For golden color and shine, brush edges or top crust with beaten egg or milk before baking.

VI. Baking the Pie Crust
Blind Baking (Single Crust)
Perfect for cream pies or no-bake fillings.
- Preheat oven to 425°F or 375°F.
- Prick crust bottom and sides with a fork.
- Line with parchment or foil, then fill with pie weights (beans, rice, sugar).
- Bake at 425°F for 18–20 minutes or 375°F for 20 minutes.
- Remove weights and bake at 350°F for 10–20 minutes until golden.
Baking a Single Crust for Filled Pies
- Preheat oven to 425°F.
- Prick crust, bake on lowest rack for 15 minutes or until lightly golden.
- Cool before adding filling.
Baking a Double Crust Pie
- Preheat oven to 425°F.
- Place pie on parchment-lined baking sheet.
- Brush entire top with egg wash.
- Bake for 20 minutes, then reduce heat to 350°F.
- Continue baking for 45 minutes to 1 hour or until crust is golden and filling bubbles.

Perfect Crisco Pie Crust from Scratch
Equipment
- 1 Pastry blender Or use a fork or butter knife
- 1 Measuring Cups For flour and shortening
- 1 Mixing Bowl Large enough for combining ingredients
- 1 Rolling Pin Lightly floured
- 1 Plastic wrap For chilling dough
- 1 Pie plate 9-inch or deep dish
- 1 Knife or spatula For measuring and trimming
Ingredients
- 2 1/2 cups All-purpose flour Spoon and level, not scooped
- 1 tsp Salt
- 1 tbsp Sugar Optional, omit for savory pies
- 1 cup Crisco shortening Chilled, cold from fridge
- 6–8 tbsp Ice water Add gradually until dough comes together
Instructions
- Chill Everything
- Mix Dry Ingredients
- Cut in Shortening
- Add Water Gradually
- Form into Disks
- Roll Out
- Transfer and Shape
- Bake
Notes
For a visual guide to accompany the steps detailed in this article, watch the “Classic Crisco Pie Crust (Double)” video. It provides practical insights and demonstrates the process of making a flaky pie crust using Crisco, enhancing your understanding and execution of the recipe.
Final Thoughts
When it comes to mastering pie crust using Crisco, the devil is in the details. From keeping your ingredients cold to cutting in the shortening correctly and chilling the dough before baking, every step plays a crucial role in creating that irresistibly flaky crust. Whether you’re making a single-crust pie for a quiche or a double-crust apple pie, this method delivers consistent, bakery-level results.
So the next time you’re in the kitchen, remember: cold ingredients, careful mixing, and a little patience go a long way in baking the perfect pie crust using Crisco. Happy baking!


